How to Organize All About Reading
All About Reading is a beautiful interactive phonics-based reading curriculum that I’ve found to be worth every penny. Here’s how to prep and organize the curriculum so you can easily use (and re-use!) each level. Bonus: you can even make some money back by reselling your curriculum after you are done with it–just follow my tips at the end of the post.
Please note that this post contains affiliate links which allow me to earn a small commission when a purchase is made at no additional cost to you. As an Amazon Associate I earn from qualifying purchases. Read more here.
One of the struggles of a homeschooling parent is the difficulty of wrangling all the kiddos into their appropriate places for the school day and then realizing that you happen to need glue, scissors, a printed worksheet (that you never printed) or ten spoons in a variety of lengths. Sigh.
No wonder the average homeschooler is on a constant quest for “open-and-go” curriculum options.
Which brings me to one huge reason why I LOVE All About Reading. It actually IS open-and-go!
If you’ve never heard of All About Reading, take a quick look inside here!
With AAR, when I’m ready to start our lesson, we start. No fiddling around, no running to a different room to grab something, no frantically reading the teacher’s manual to understand the lesson. Note: if you’ve never taught reading before, then do read teacher’s notes in advance of the lesson.
Here’s how a morning of AAR works at our house.
When we kick off a lesson, I grab our stack of books and the flashcard box, open everything up and we start. We review maybe 6-8 phonograms and 10-30 words from the flashcard box. We then start the lesson (or finish whatever we had left from the prior day).
It’s simple to follow along in the teacher’s manual and read the guided script to teach new lessons. We always end our reading lessons when 20 minutes (the max suggested lesson length) is up.
The font size and abundance of white space make the teacher’s guide calming to teach from and easy to skim.
I always feel free to adjust the lessons as needed. The pacing of the book is such that you can spend extra days on challenging lesson and still finish in a standard school year.
Pro tip: AAR is totally free of writing! This is great for new readers (no distractions of working on fine motor skills while they learn new material). However, I’ve added in Explode the Code (select a level that is easier than what your student is currently working on) and we do a worksheet or two with our morning time to add in writing practice with words that are now super familiar.
Now, all of this is probably sounding pretty great.
However.
The KEY to All About Reading is prepping AHEAD of time. If you never open the books until the first day of lessons, you’ll have problems. Instead, set up your activity binder (I purchase my own 3-ring binder for this–it does not come with the curriculum) and make sure your tiles are ready and the flashcards are organized.
None of this is hard to do, but you should complete these tasks before you ever teach a lesson!
I’ve taught through All About Reading Level 1 and Level 2 and am about to set up Level 3.
I’m sharing my complete set-up system here. It’s been a fun “chore” to do while watching a show and it’s seamless to use once our year starts. Adapt as needed!
Is All About Reading just for homeschoolers? Nope! While I use it as a homeschooler, it’s great for any child even if they are already learning reading in school. Because AAR is based in phonics and the Orton-Gillingham method, it provides a solid foundation for children to begin their reading journey.
Instead of relying on memorizing sight words, your child learns phonics in a highly effective multi-sensory way. You could certainly use it during the summers or as at-home practice for your student if you are not finding their in-school instruction to be adequate.

How to Organize All About Reading
First off, I have to say, I watched SO many videos on Youtube about All About Reading before I ever purchased level 1. So, some of the followings ideas and strategies are from the amazing moms that shared their experiences in their videos.
If you see one of your ideas here, first off thank you! And secondly, drop your name and social channels in the comments so we can all head over and support you.
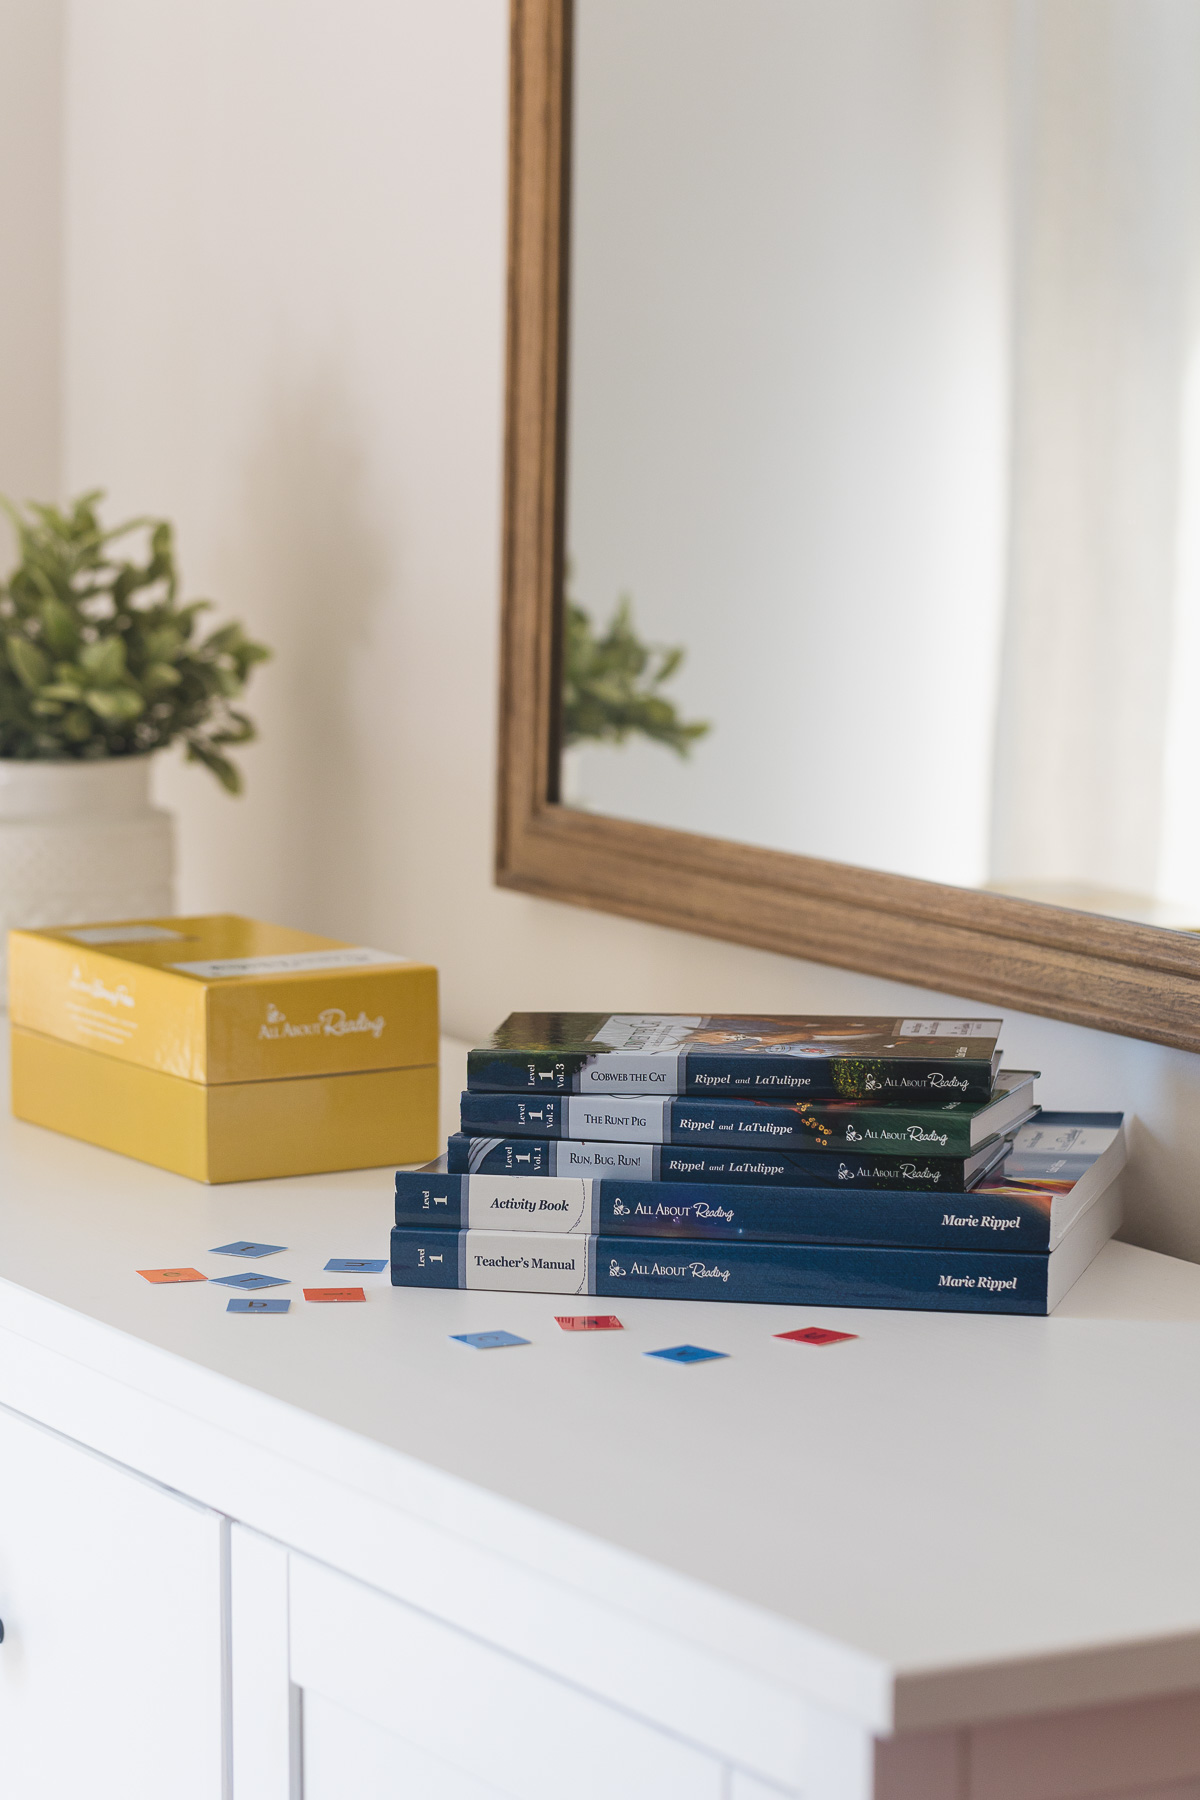
Do I Need the Teacher’s Manual? Yes! It has everything you need to teach successfully. It is your guide for the entire curriculum and every question you might encounter. Don’t hesitate to buy it. Remember you can always resell your curriculum later on if you are concerned about cost.
How to Prep the Teacher’s Manual, Flashcards, and Readers:
When you first get your curriculum you’ll have a sealed package with all sorts of goodies. It might seem like a lot, but it’s really quite simple. Keep all your resources together and teaching reading will be a breeze. The student book requires the most setup, so that’s the bulk of these instructions.
Here’s how I set up my teacher’s manual, flashcards, and readers:
The Teacher’s Manual – Simply mark your place with sticky note! Take some time browse the appendices as there are wonderful resources there.
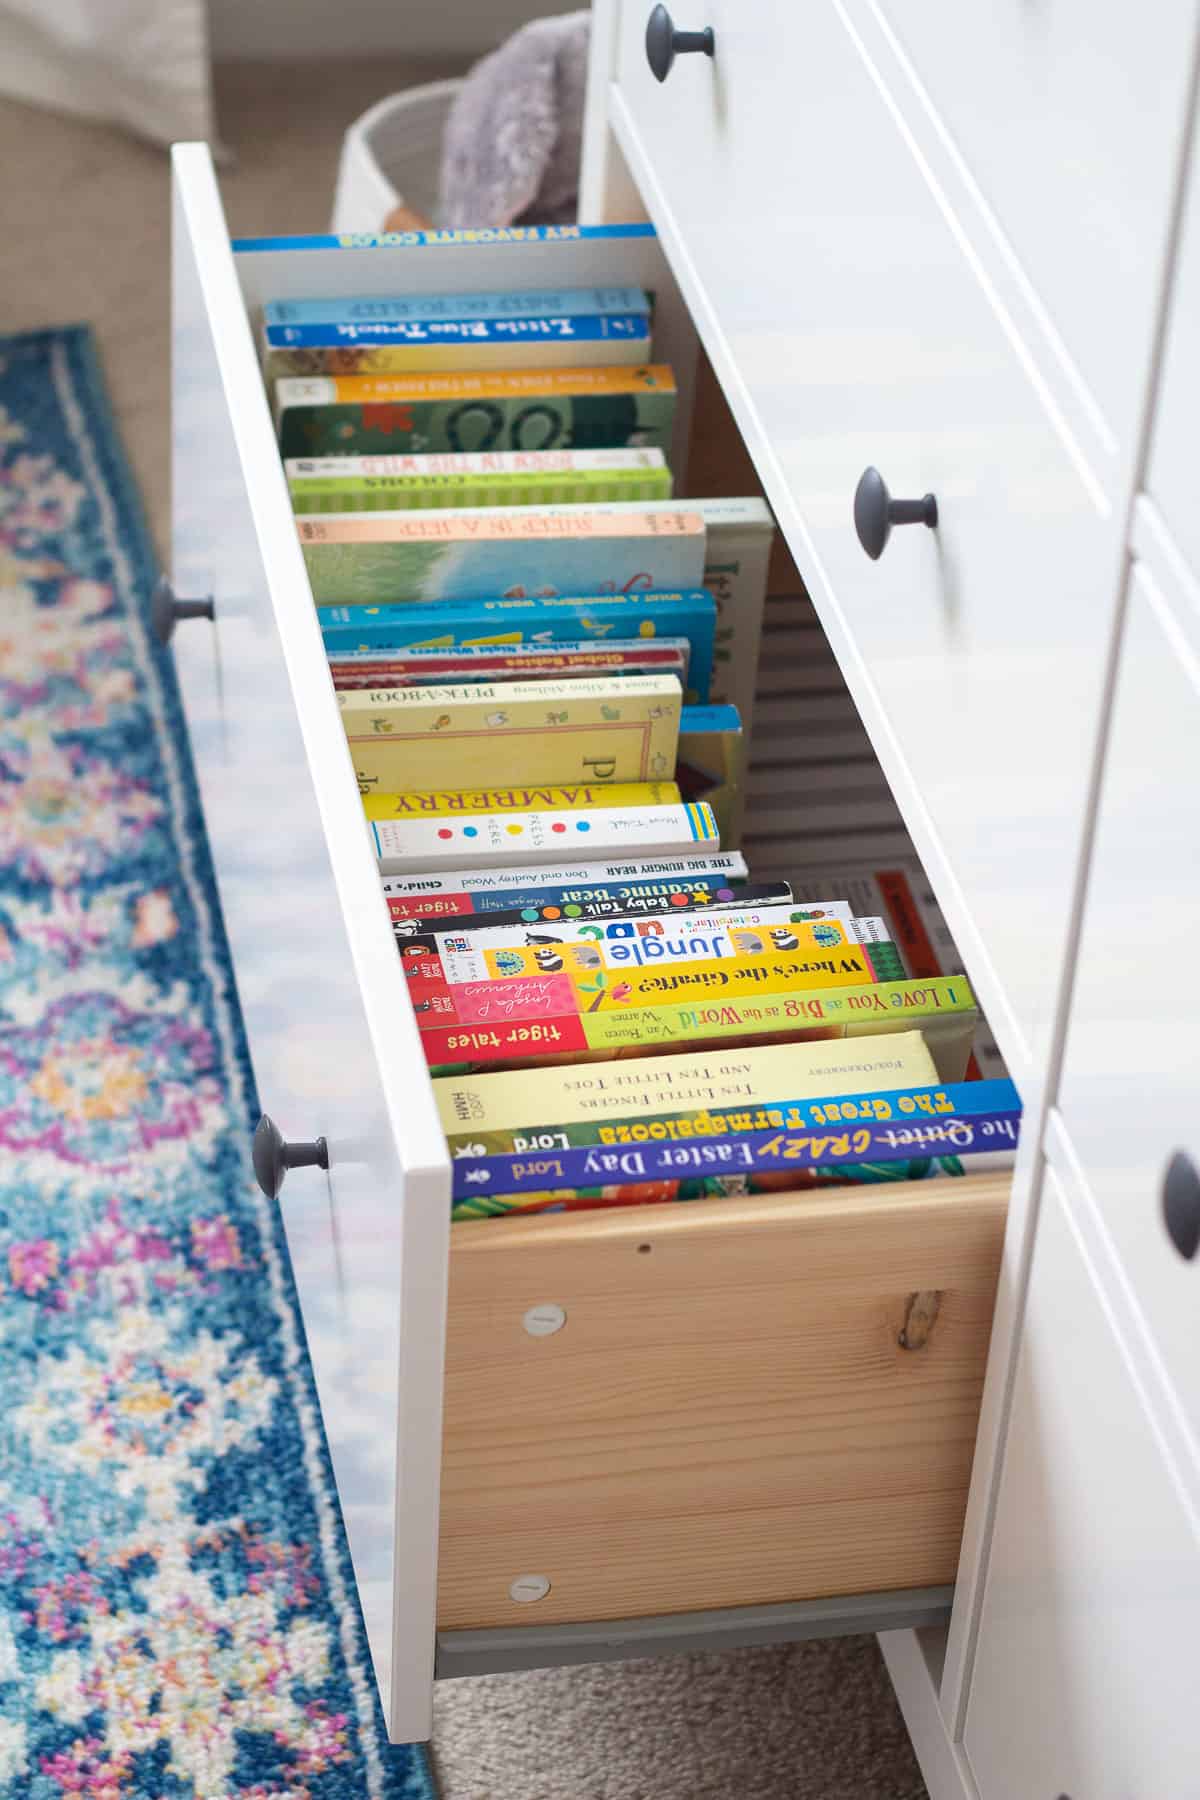
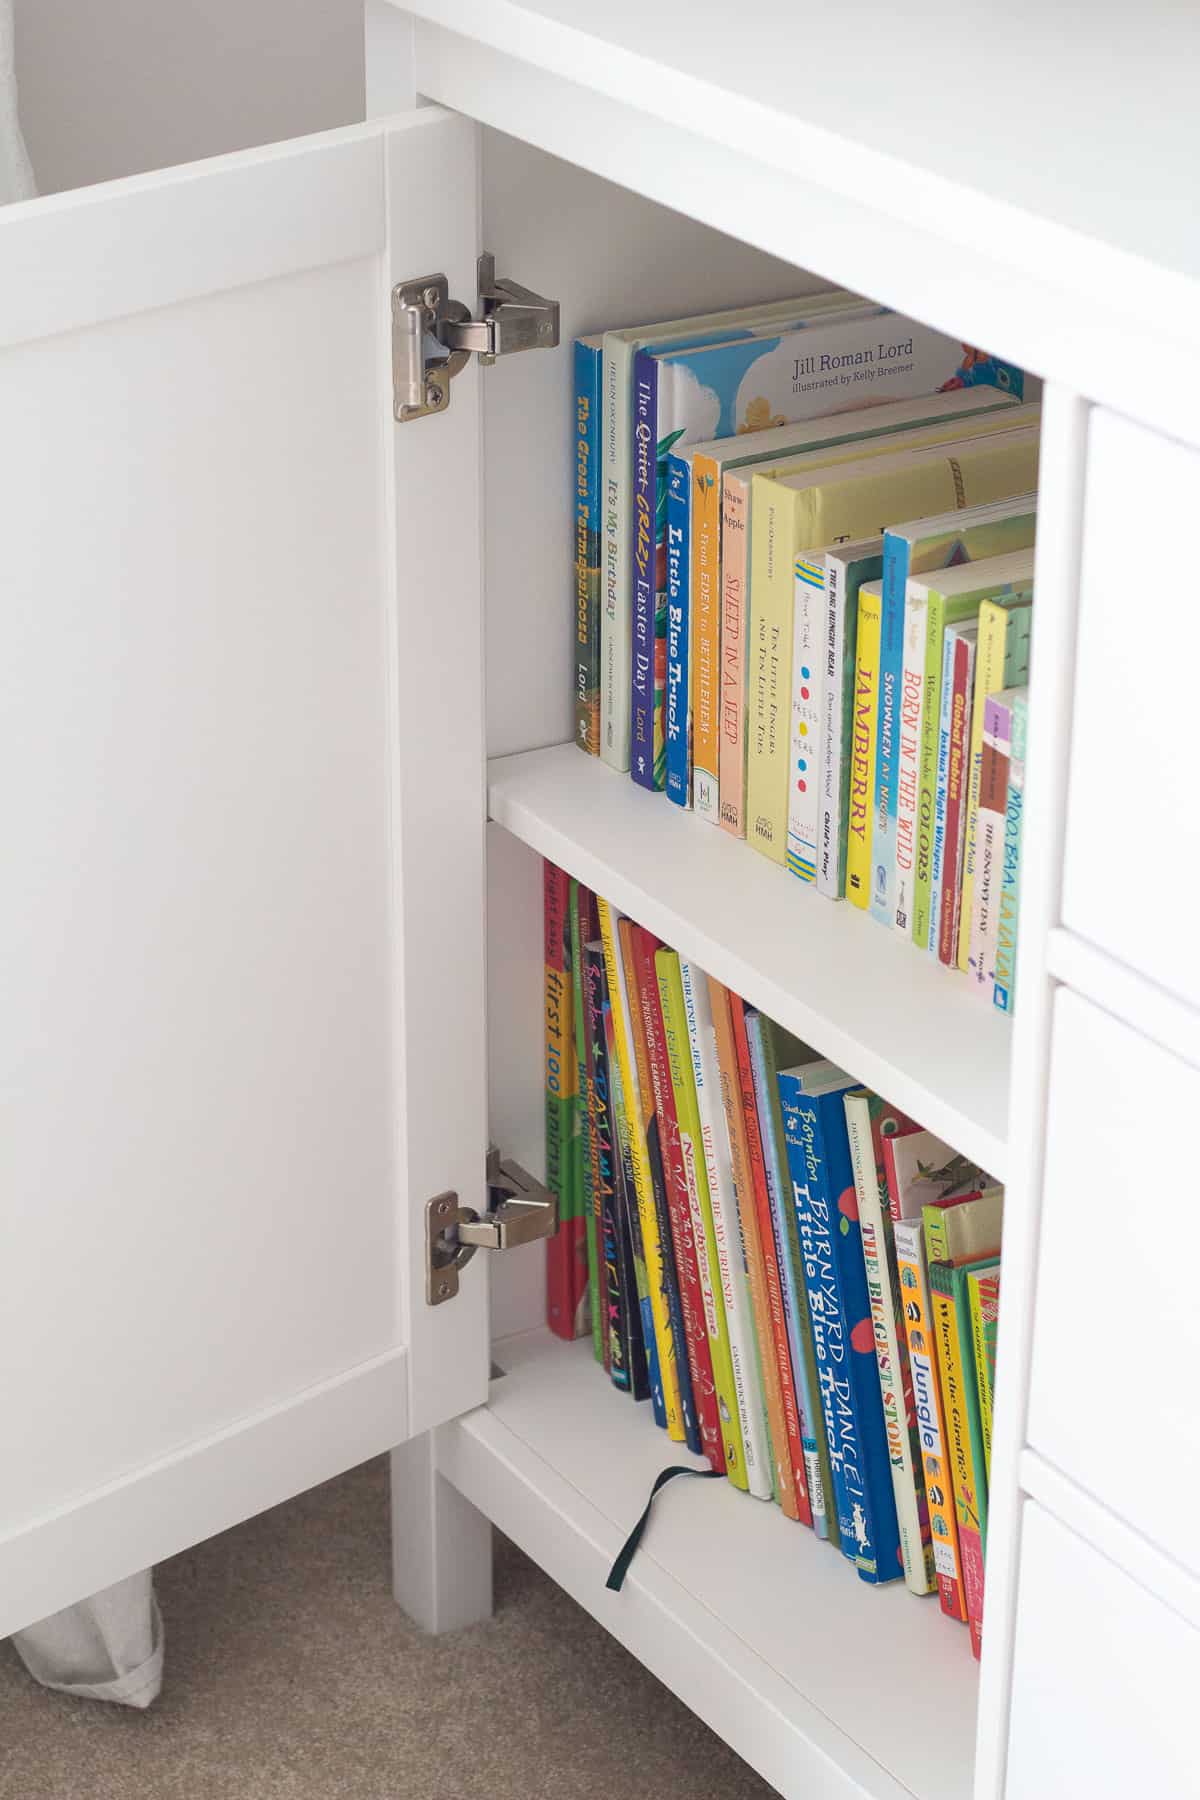
The Readers – Mark your place with a sticky note. These are fun books, so make sure they don’t run off with your kids when you aren’t using them or you’ll have to hunt them down before beginning a lesson!
The Flashcards – Before beginning the program, you will need to separate and file the flashcards. Do you need the student card box? It’s not essential, but it does fit the cards perfectly and comes with labeled dividers. It’s quite handy, so I recommend it if you can manage it.
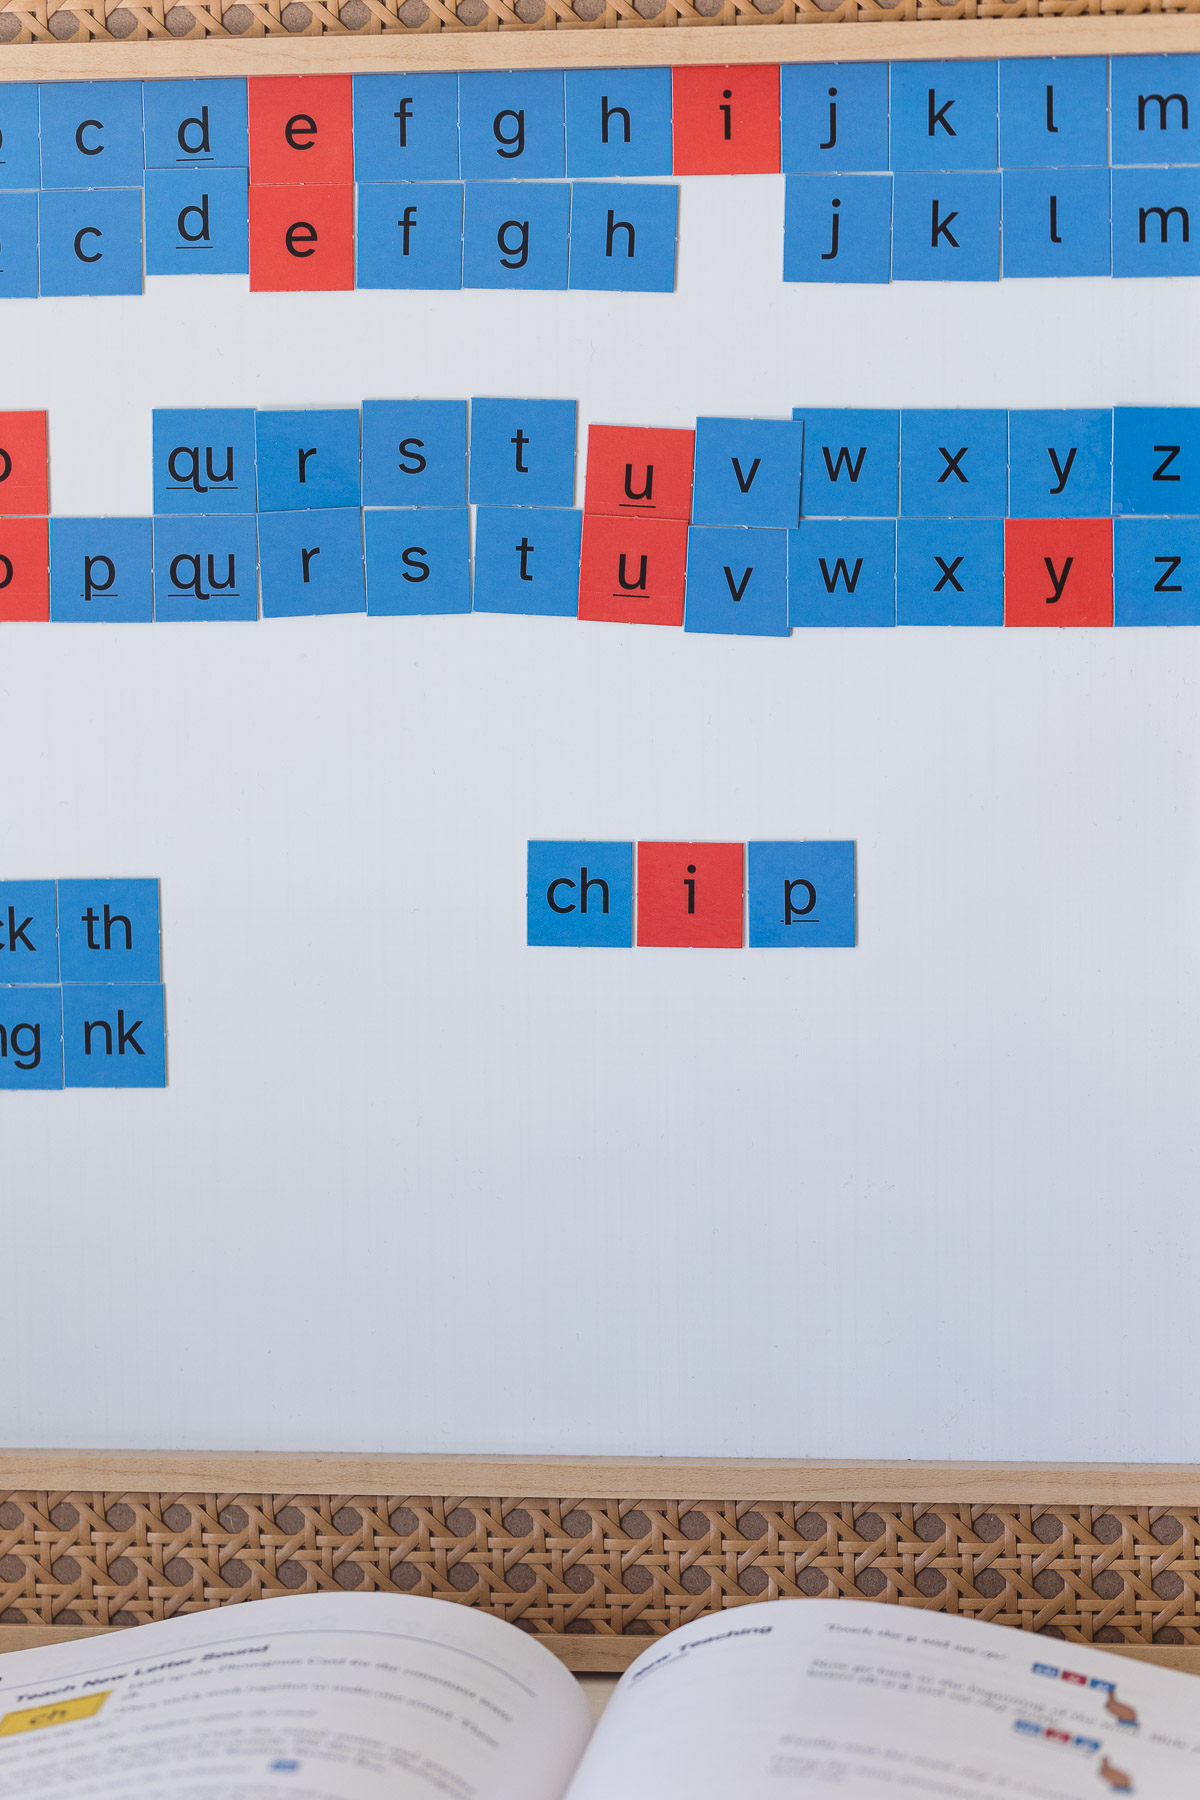
The Tiles
It is suggested to use the letter tiles with a magnetic 2’x3′ whiteboard. You apply the magnets included in the student package to the back of the tiles and then you can organize them onto the whiteboard as directed in the student guide.
Alternatives to this would be:
- Using the tiles without magnets and storing them in a small box or bag (this does require fishing around for the tiles needed, so I preferred switching to the board option). Arrange them on a tabletop or hard surface while you work.
- Using the Letter Tiles App. You need a tablet for this, but it’s easier to manage if you are teaching with small kiddos around–those tiny tiles are very tempting to small fingers!
- Using a smaller magnetic whiteboard. I thought a 2×3 whiteboard sounded excessive so I purchased a much smaller one that I found on clearance. It it easier to store, but you will start running out of space.
A little cheat: This year, my student was reading really well and I was hassled by a busy toddler so I cheated a little. I taught my student the letter tile portions straight from the teacher’s manual. I don’t suggest doing this unless the lessons are feeling totally easy-breezy for your child. You lose the kinesthetic quality of the tiles by doing this, so I wouldn’t do this in Level 1 at all. By Level 2 and onwards though, this was a little hack that made many lessons even quicker for us.
How to Prep the Student Book
This is the part of the course that will require the most prep work. I highly suggest prepping the whole curriculum before you even start it–it will make life so easy!
If you want to use the whole program again with a future student, you DO NOT need to purchase another student set! This is a huge savings. All you need to do is prep the materials, don’t write on anything, and avoid losing pieces or throwing anything away.
The student book includes fluency sheets, warm-ups for the readers, and activities. I ONLY remove and prep the activity pages. There’s no need to remove everything, and you’ll save yourself time and energy.
I also take a moment to print another copy of the sticker/progress chart from All About Learning’s website. That way we can preserve the original within the book.
Resale tip: Very occasionally there are student activities that are one-time activities (such as stapling together a story booklet or writing answers onto a worksheet). To preserve these activities, we just talk through them together and leave the original pages. That way everything is ready for resale.
Once you carefully rip out the activity pages, you can start to organize them.
How to Prep the Activity Pages:
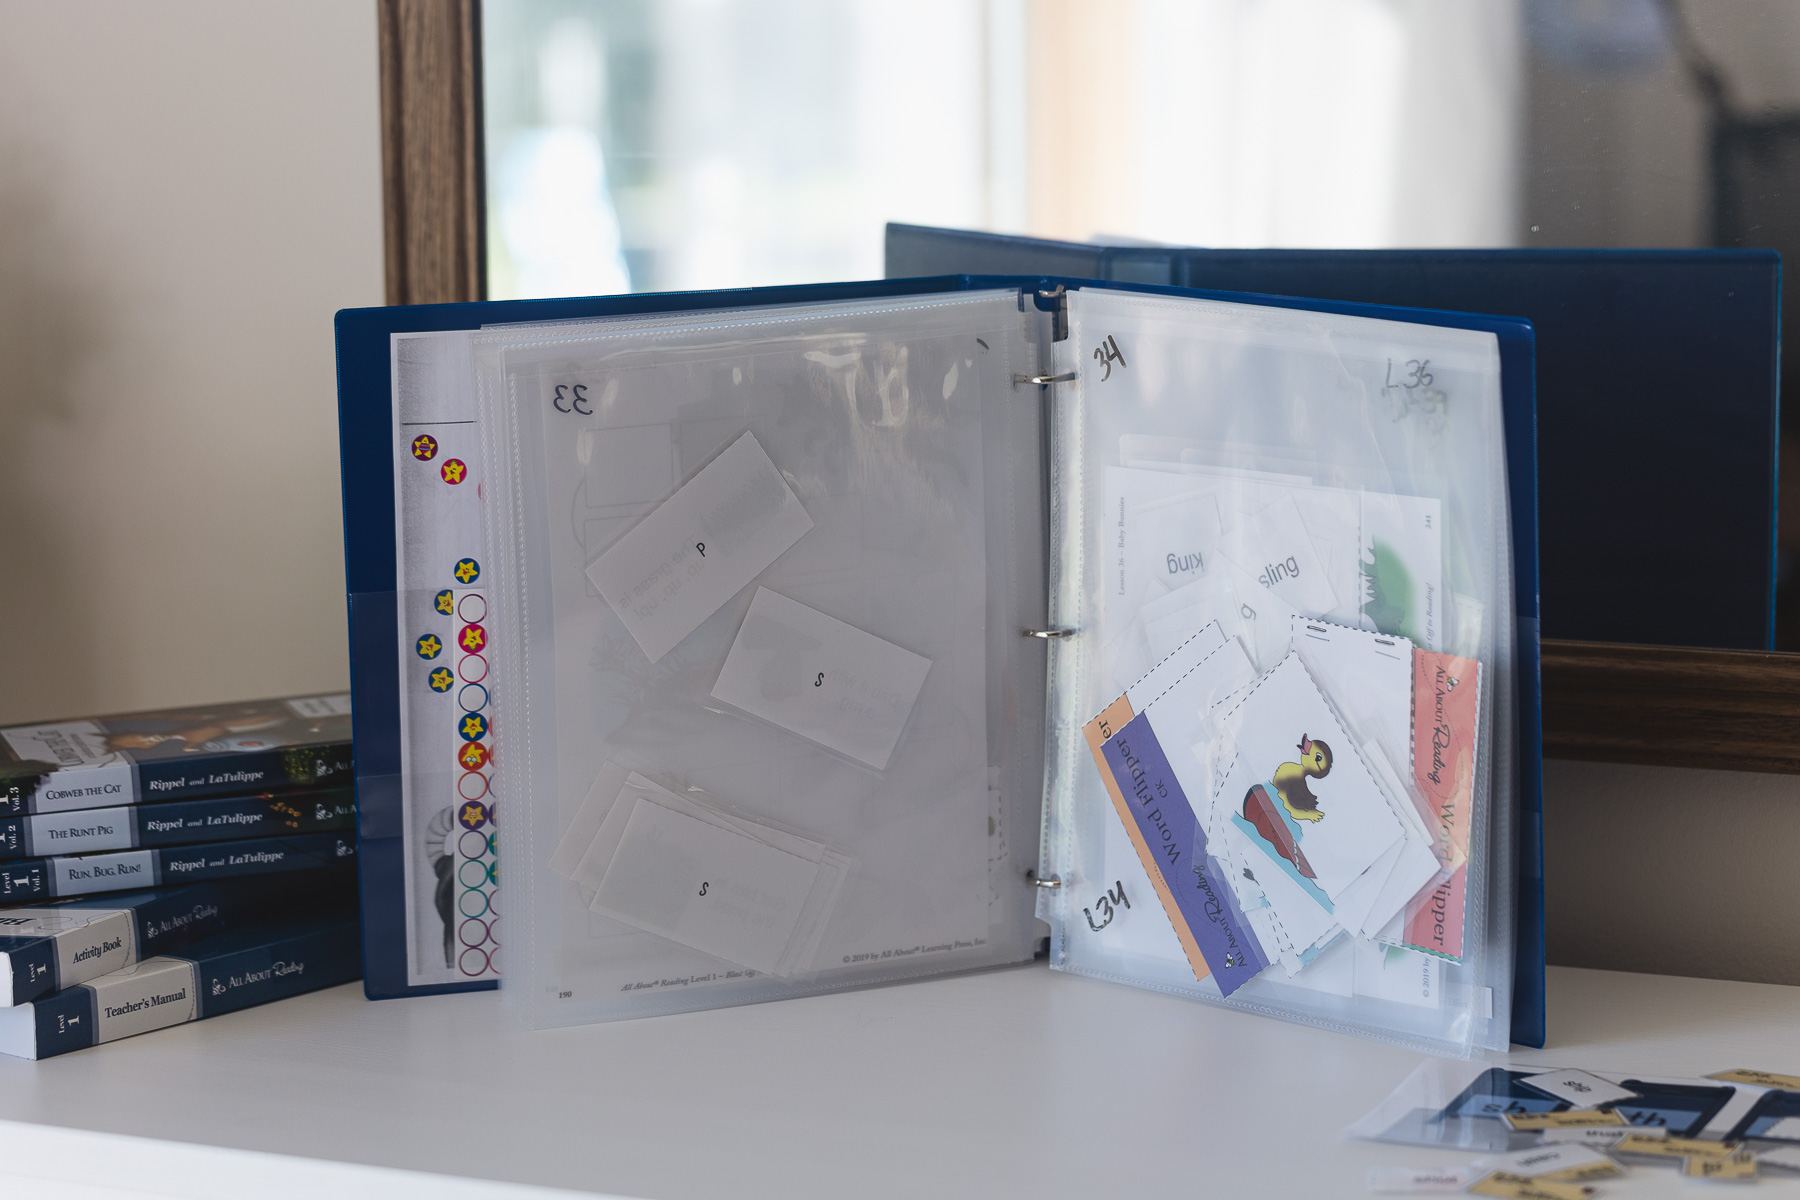
Grab a 1.5″ three-ring binder (I like a color that matches the level), a paper cutter, a stapler, some sandwich baggies, and (important!) page protectors with a top flap.
I love these page protectors! Page protectors with a top flap–so invaluable for a variety of homeschool uses! You can combine a few lessons into one sleeve and use less of them. I use maybe 15-20 per level.
Note that if you want to totally dissemble the entire student book (not just the activities) then you will want a larger binder. I suggest avoiding this though as it’s more work.
To condense things a little bit, I often pack two games into one page protector. I’ll rip out the main “game board” page and then cut out any game pieces using the paper cutter and tuck them in as well–keep everything together!

For games with lots of smaller pieces, I placed these into a sandwich bag and put the sandwich bag into the page protector.
The pages include the lesson title on them, so I cut these out too and just tucked them into the page protectors for clarity as I flip through the binder. It worked better than writing the lesson # on the sleeve.
Should I Laminate the Games? This is totally optional! I opted to laminate several of the games in level 1, but I didn’t really have the time or interest in laminating the game pieces for level 2, so I skipped it.
Here’s a quick review of exactly what I do with each type of sheet in the student book:
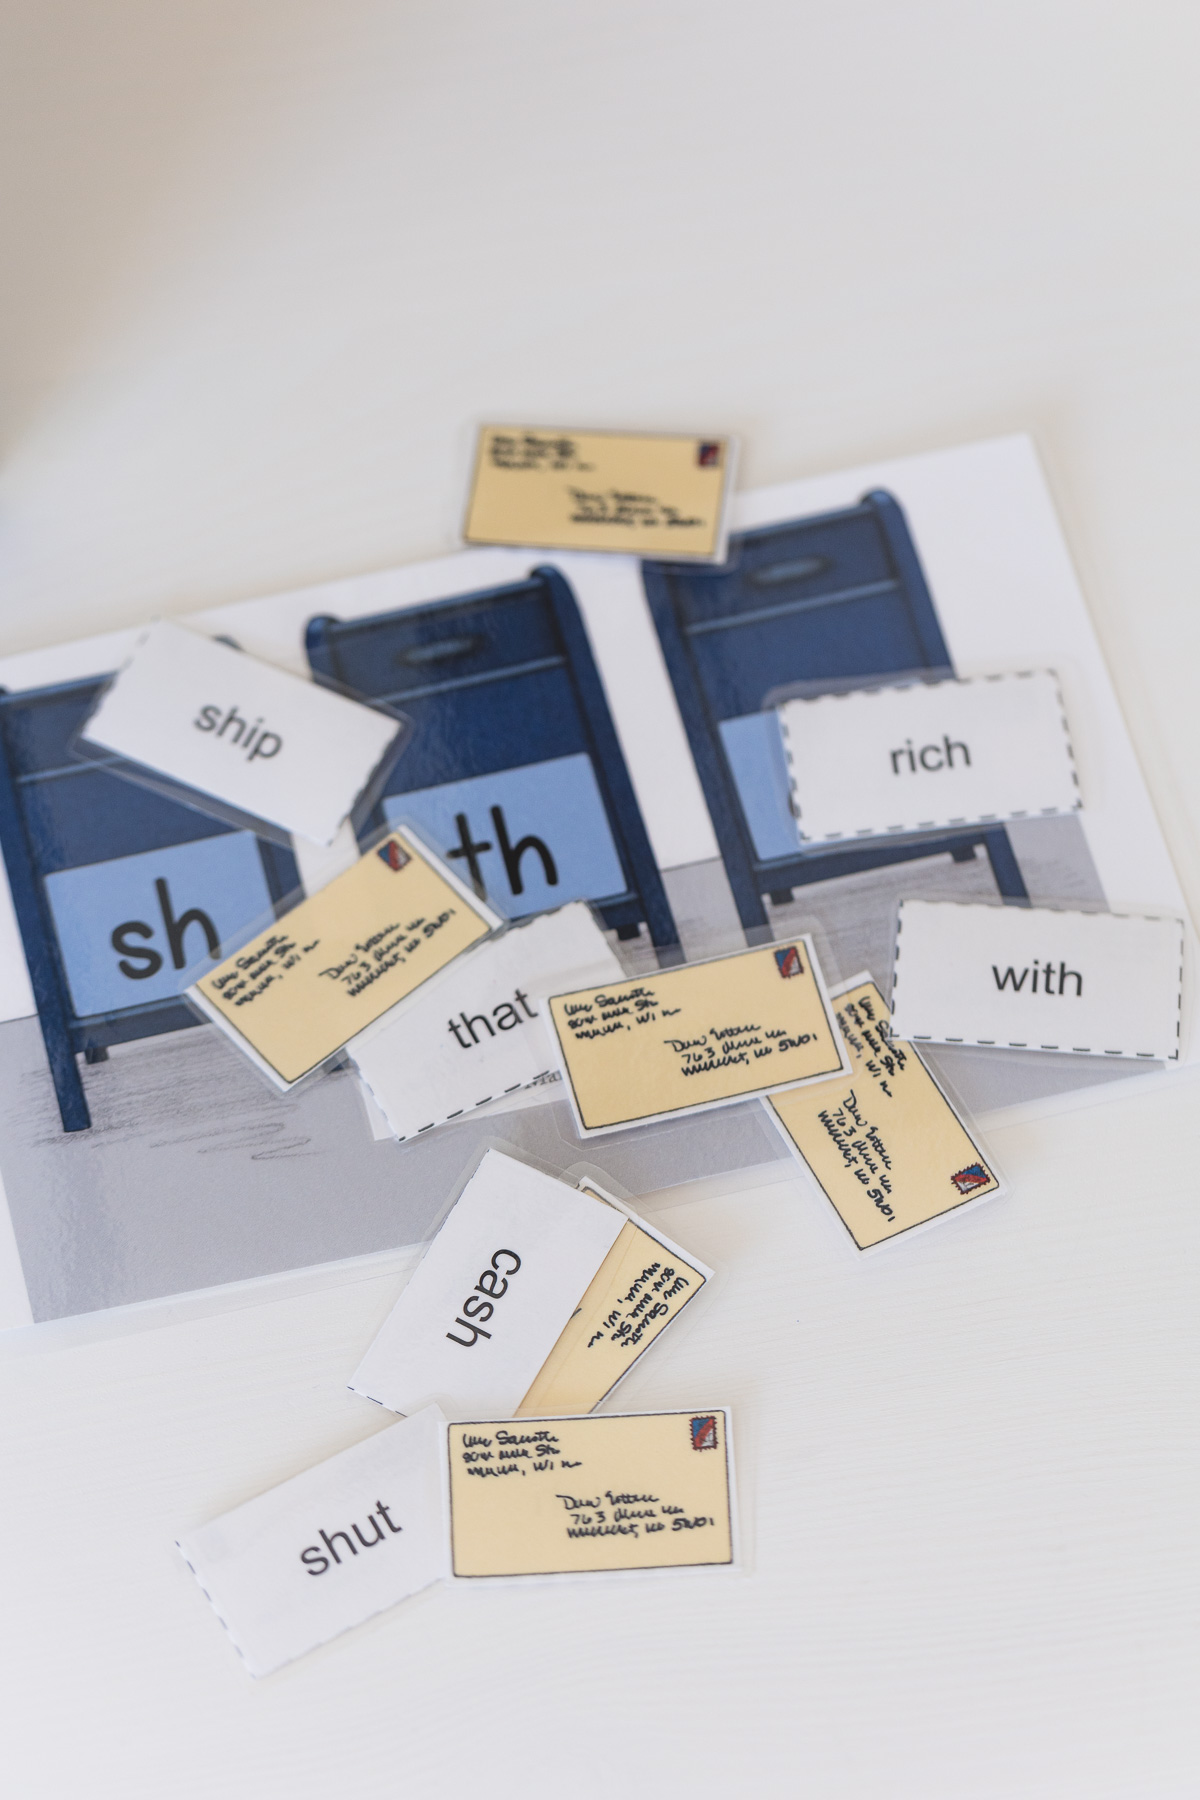
Games: For all the games, I cut out everything in advance. A paper cutter is handy for this. File tiny pieces into ziplocks and keep those with the “game boards” within page protectors. File into your 3-ring binder.
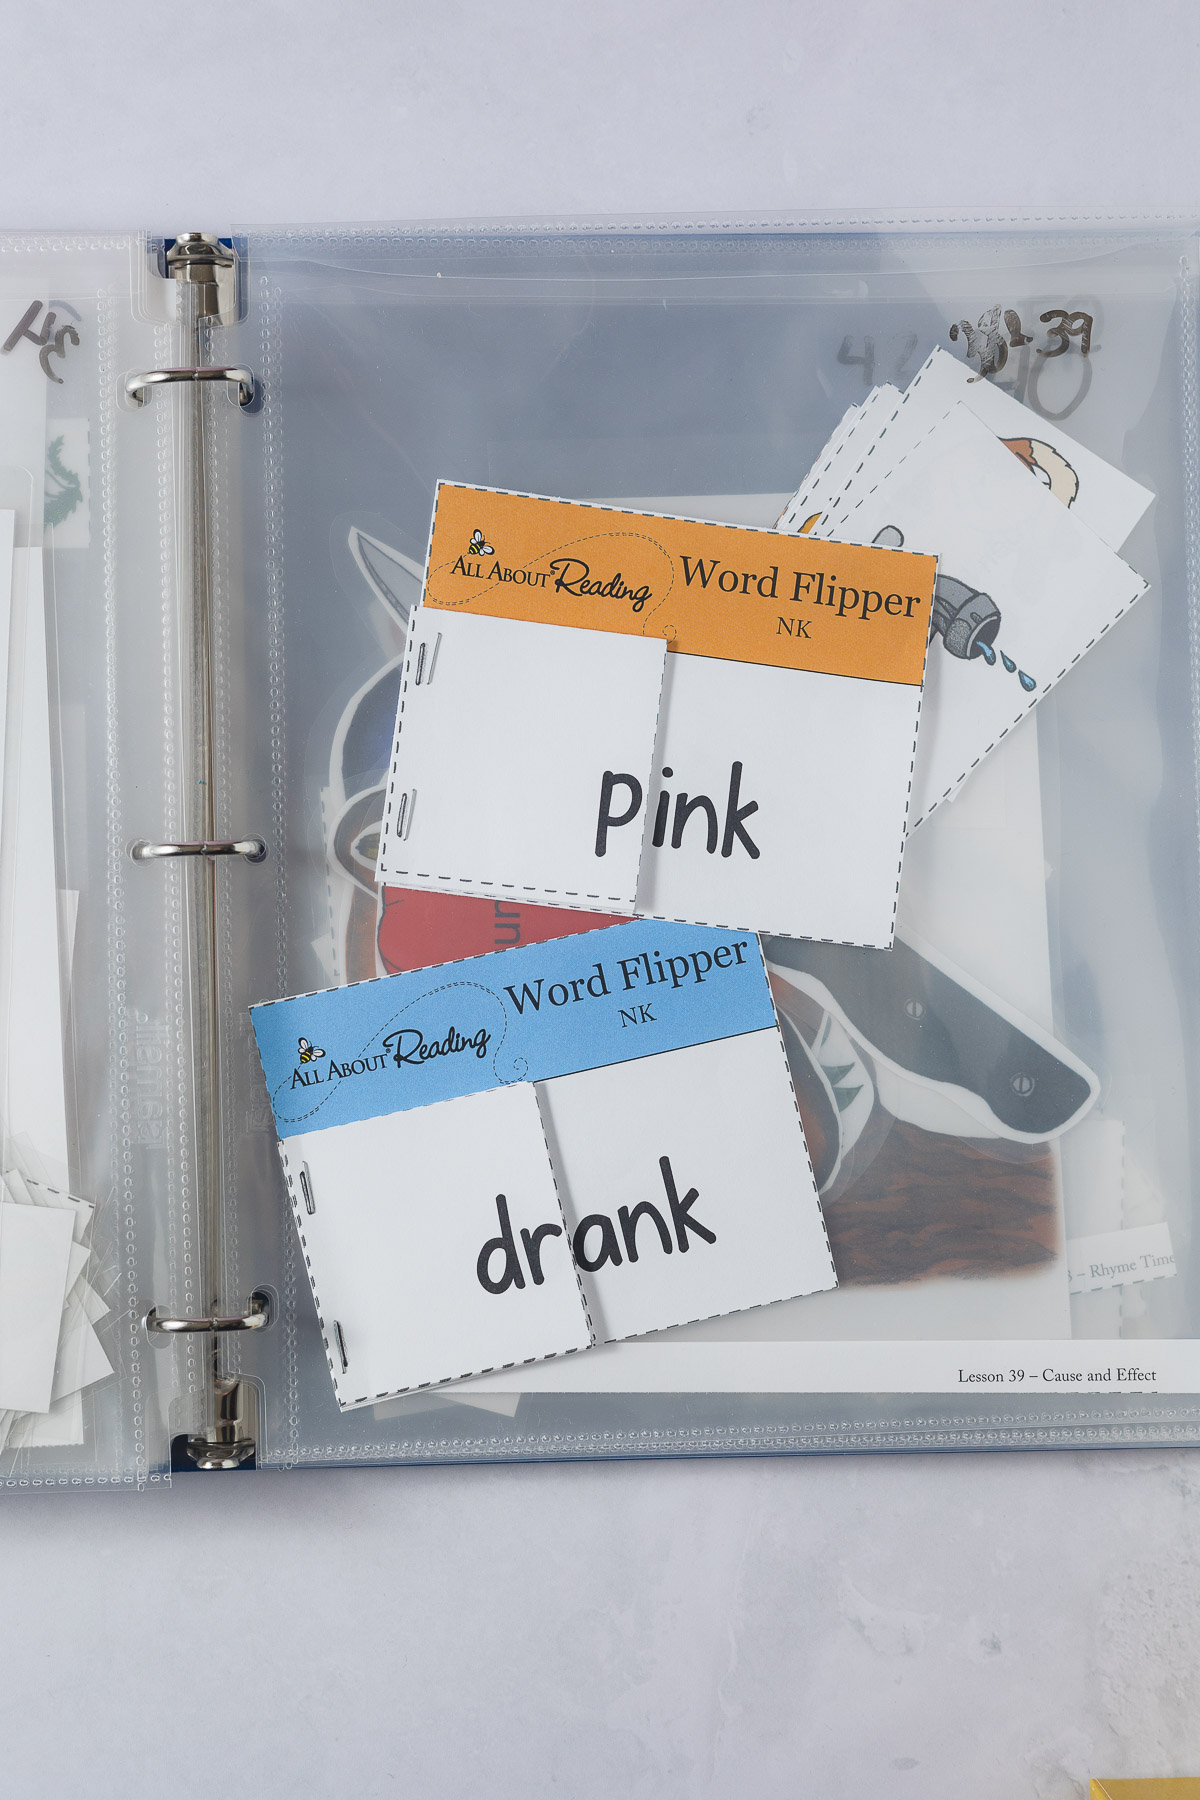
Word Flippers: Cut these out and file into page protectors too. Remember, you can combine a few lessons to reduce the page protectors used.
Fluency Sheets and Warm-Up Sheets: As noted earlier, I left the fluency sheets and warm-up sheets totally intact inside the book. For me, it was very easy to flip through and do review this way. I also did not like the idea of using a larger 3″ 3-ring binder to fit everything.

Finally, here’s a few additional tips for resale!
Tips for Using for Resale:
If you are planning to resell your All About Reading curriculum, here’s a few tips:
- Do NOT write on anything. Print a fresh copy of the student certificate and progress chart from the All About Reading website and use those copies.
- You should also avoid assembling student work such as booklets the student creates (I don’t recall if there are any of these in level 1, but there’s at least one in level 2). Word flippers are fine assemble, but any project the student is supposed to do themselves I would avoid cutting out at all.
- SAVE all the pieces. Keep things together by using page protectors with flaps.
- DISCLOSE any issues with the materials–anything missing, ripped, etc.
- INCLUDE your binders and page protectors. You might want to reuse these materials, but it’s a lot nicer if everything is still in order for a prospective buyer. If you can figure out another way to organize it, that is fine, but I would suggest photographing your materials after you’ve re-organized to avoid confusion.
What are your favorite tips for organizing All About Reading? Share in the comments!
Thanks for reading!
~Ellen